


A Guide to Cleaning Fishing Reel Bearings: Enhance Performance and Longevity
2024 Dec 6th
Why Clean Your Fishing Reel Bearings?
Fishing reel bearings bear the brunt of debris, salt, and moisture, especially if you fish in harsh environments. Over time, dirt and grime can build up, leading to a sluggish reel and decreased performance. Regular maintenance, including cleaning your bearings, can:
- Improve Casting Distance: Smooth bearings allow for a more efficient line release, aiding in longer casts.
- Reduce Wear and Tear: Keeping bearings clean minimizes friction, preventing parts from wearing out prematurely.
- Prevent Corrosion: Moisture and salt can lead to corrosion and rust, which can ruin your bearings.
- Enhance Reel Responsiveness: Clean bearings lead to quicker and more responsive reeling, making it easier to fight fish.
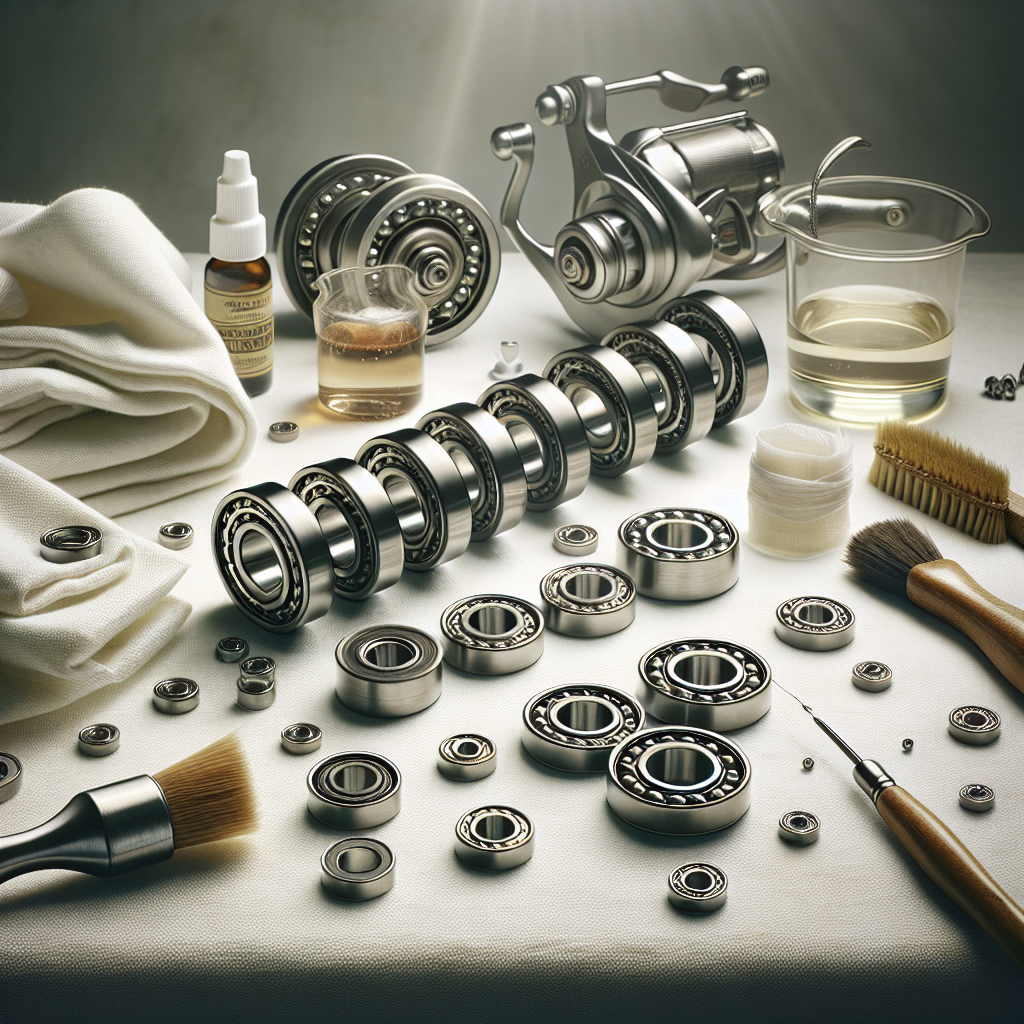
Tools You’ll Need
Before diving into the cleaning process, gather the following tools and materials:
- Screwdriver Set: To open your reel and access the bearings.
- Dewatering Agent/Grease: Such as a fishing reel cleaner or quality degreaser like rubbing alcohol or brake cleaner.
- Cotton Swabs or Cloths: For cleaning and wiping down the bearings.
- Needle Nose Pliers: Helpful for removing bearings if needed.
- Oil for Lubrication: Use quality reel oil designed for fishing reels.
- Small Tupperware or Jar: To hold the bearings while you clean them.
Step-by-Step Process to Clean Fishing Reel Bearings
Step 1: Disassemble the Reel
Carefully remove your fishing reel from the rod and locate the bearings. Use the screwdriver to take apart the reel housing, noting the order of disassembly for reassembly later.
Step 2: Remove the Bearings
Using needle-nose pliers, gently extract the bearings from their housing. Be cautious not to damage them during removal. Place the bearings in a small jar or Tupperware for cleaning.
Step 3: Clean the Bearings
Add your selected cleaning solution (rubbing alcohol or degreaser) to the jar containing the bearings. Let them soak for a few minutes to dissolve grime. After soaking, use a cotton swab or a soft cloth to wipe off any remaining dirt and debris. Rinse with fresh cleaner if needed.
Step 4: Dry the Bearings
Allow the bearings to dry completely. You can speed up the process by gently shaking them in a dry cloth or leaving them in a warm, dry place.
Step 5: Lubricate the Bearings
Once they are dry, apply a few drops of lubricant specifically designed for fishing reels to each bearing. Be careful not to over-lubricate, as too much oil can attract dirt and debris.
Step 6: Reassemble the Reel
Carefully place the cleaned and lubricated bearings back into their corresponding slots in the reel housing. Reassemble the reel in the reverse order of disassembly, making sure everything is secured tightly.
Step 7: Test Your Reel
After reassembly, give your reel a test spin to ensure everything is running smoothly. Your bearings should feel free and effortless, enhancing your reel's overall performance.
Conclusion
Regularly cleaning your fishing reel bearings is an essential part of reel maintenance that cannot be overlooked. By following these simple steps, you can ensure that your reel operates smoothly and lasts longer, giving you a competitive edge on your fishing excursions. Remember, a well-maintained reel will enhance your overall fishing experience, making every trip enjoyable and successful. Happy fishing!